How to refill developer on Konica Minolta 184/235/246?
How to install the developer and initialize the new drum of Konica Minolta 184/235/246?
When the Konica Minolta machine prompts “Maintenance Call 2 (M2)”, it means that the life of the photosensitive drum has expired. In addition, when the printing and copying effect is poor, you need to replace the photosensitive drum assembly. You can install the developer and drum unit by yourself.
Here is the installation method:
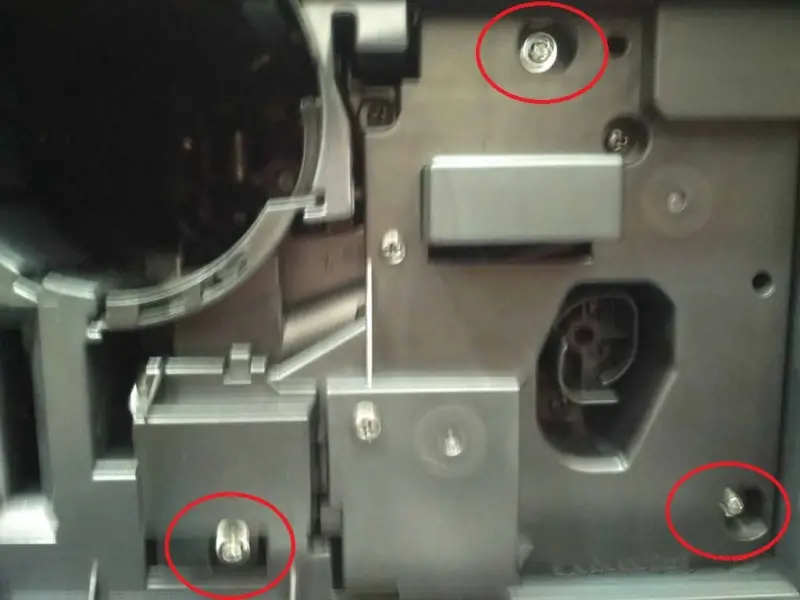
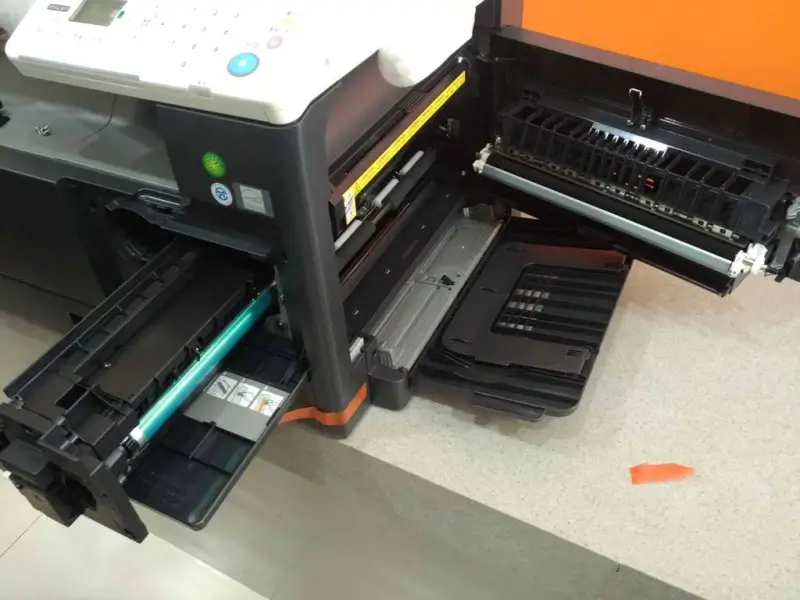
1. Remove these 3 screws and pull out the developer container and drum (open the side cover before pulling out, otherwise it cannot be pulled out)
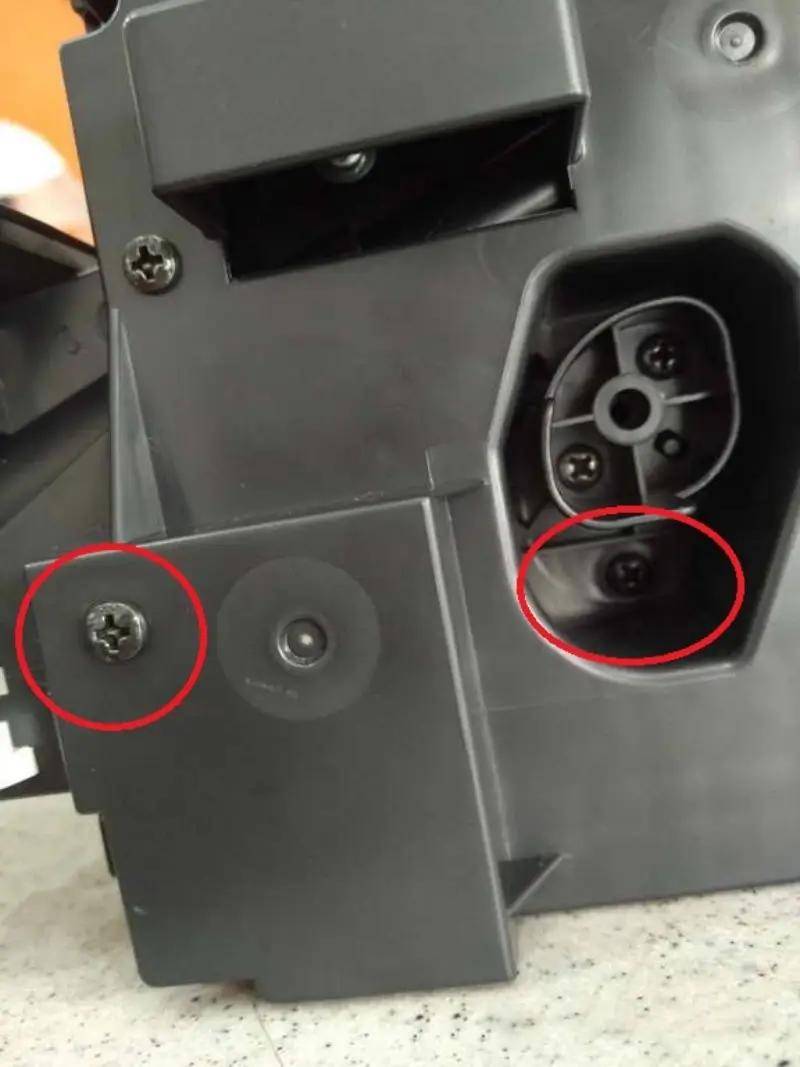
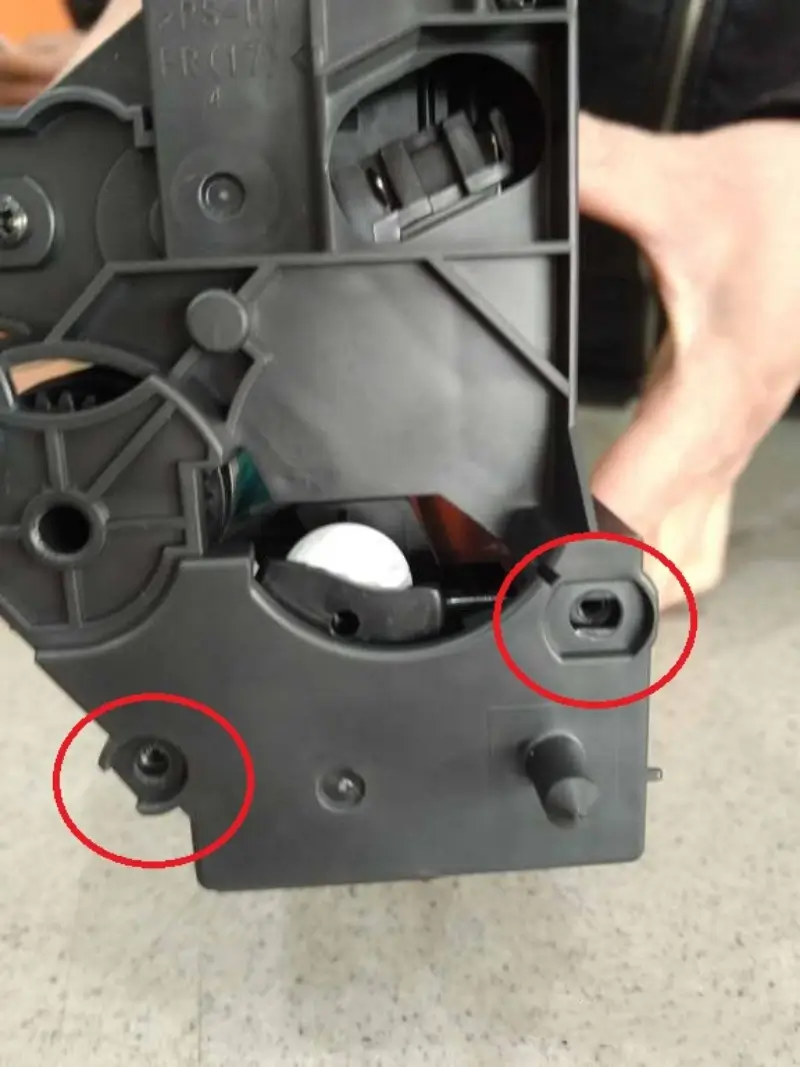
2. Remove the 4 screws in the figure below. There are two screws on each side. Remove them to separate the developer container and the drum.
3.The figure below is the developer container. Remove the 3 screws and open the cover. Inside is the developer container. Pour the developer evenly into the container, then cover the cover, tighten the screws, and the developer is installed.

Install the components according to the original steps and install them in the machine.
Next, perform developer initialization:
1. Open the front cover, take out the toner cartridge in the machine, close the cover, and turn on the power.
2. Enter the service mode: Menu key → Press the stop key → 0 → 0 → Stop key → 0 → 1 to enter SERVICE MODE.
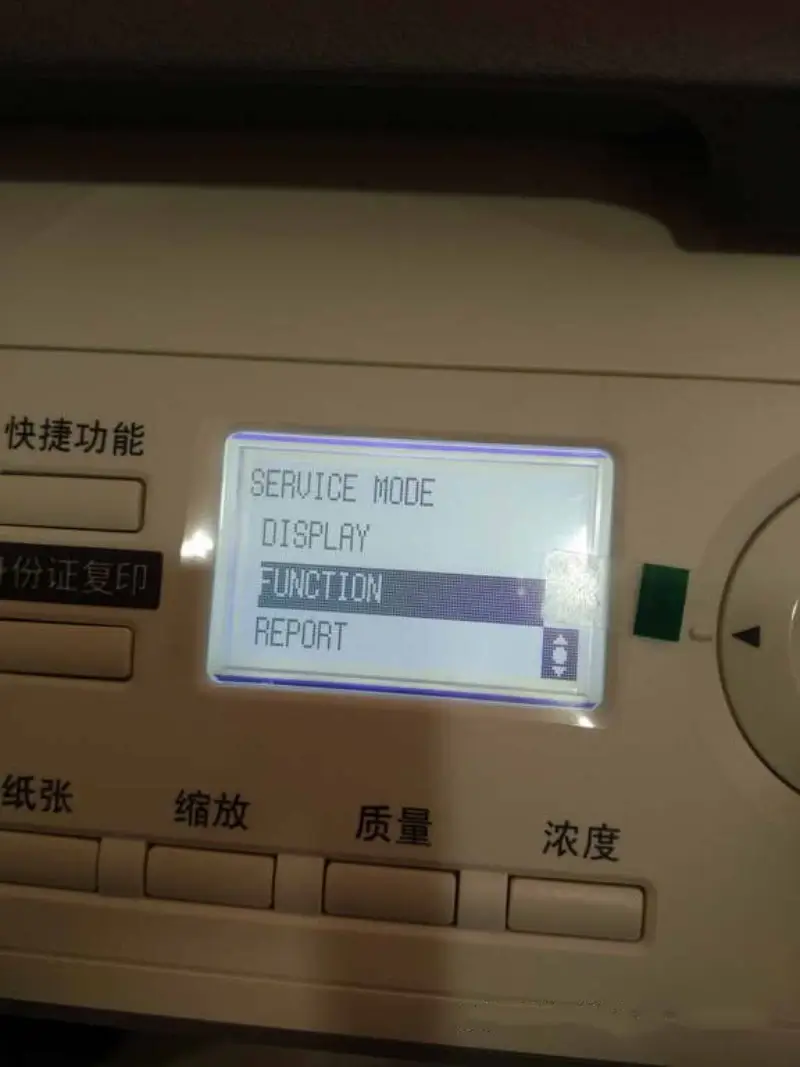
3. Press the down arrow to find FUNCTION → Press OK; press the down arrow to find TCR AUTO ADJUST → Press OK.
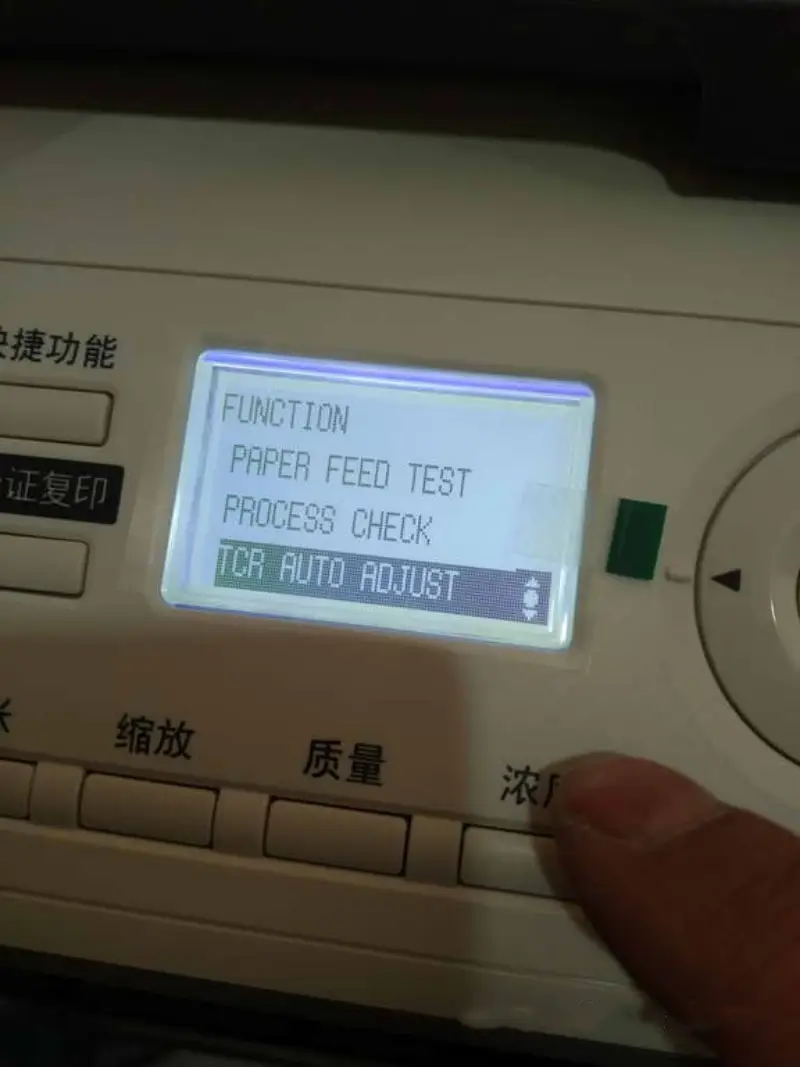
Wait for a few minutes and the carrier initialization is complete.
Unlike ordinary printers, which can be used by connecting the power supply and installing the driver, Konica Minolta’s new copiers must be installed with the developer and initialized, otherwise they cannot be used normally. The initialization steps for the initial installation of the carrier of the Minolta 185 copier are the same as above.
The operation steps are the same for Konica Minolta Bizhub164/184/185/185e/7718/7818 and other models.
Leave A Comment