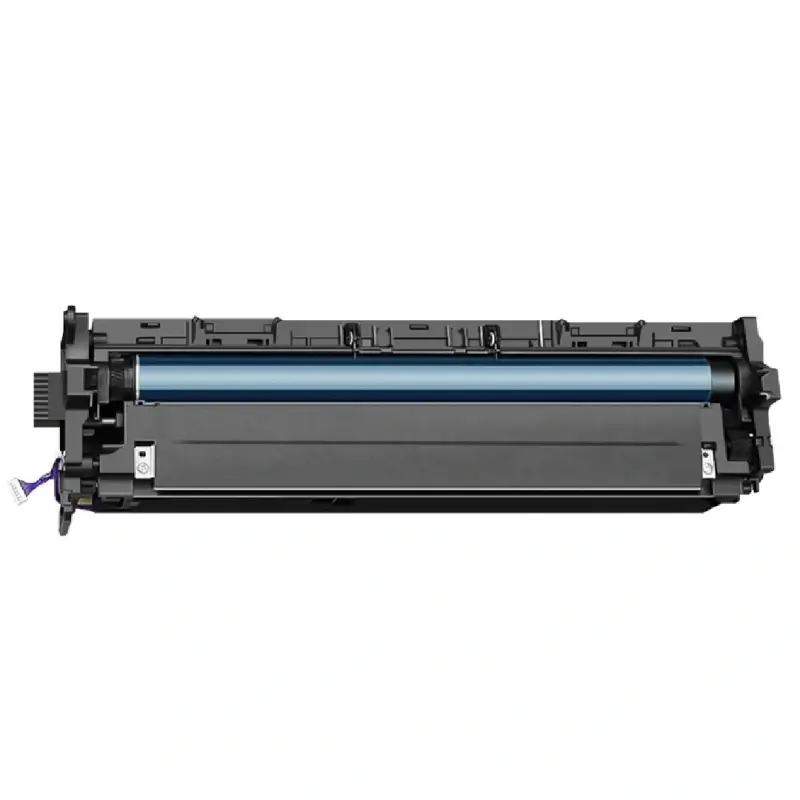
Ricoh MP 2555 Drum Unit
Ricoh MP 2555sp Copier Developer Initialization Procedure After Replacing the Drum Unit.
Hello everyone, today I’ll explain the initialization procedures for the Ricoh MP 2555sp after replacing the drum unit.
In fact, the initialization process for Ricoh IMC2000 is same as for Ricoh MP 2555SP.
There is a small white cover on the left edge of the control panel. Open it, hold the small dot button at the bottom, and then click Check Status. Then, will enter the Ricoh copier’s maintenance mode.
1. Click “Reset” at the top, enter 806182, and then press and hold “C”.
[The “Reset” key represents the yellow function clear key; “C” represents the blue start key. The principles are similar, but the codes for entering maintenance mode vary between brands.]
2. Click the first item.
3. Press 3030# on the right numeric keypad.
4. Press the “EXECUTE” key on the left side of the numeric keypad. [If it is a color printer, use the up and down arrow keys to select the drum unit you changed and then click “Execute”. Otherwise, direct execution will initialize all color drum. Please pay attention here.]
5. After about a minute, an “EXIT” option will pop up, indicating that the developer has been successfully initialized.
6. Press the “EXIT” key all the way to exit maintenance mode. You can now print and copy documents normally.
Summary:
As for Ricoh MP 2555, MP3055, MP 3555, MP 4055, MP 5055, and MP6055 printers, after replacing the drum unit, the initialization steps for the developer are the same as above.

Leave A Comment