Replacing the drum cartridge of a printer requires a series of detailed steps to ensure the correct installation of the new drum and the normal operation of the printer, which mainly includes the key steps of removing the old drum and cleaning and installing. Let’s take the Xerox 1810 as an example to demonstrate how to replace the printer drum.
Steps:
1. Turn off the printer and unplug the power cord

2. Open the front cover of the printer. Gently pull out the handle of the waste toner transport unit and remove it from the printer. Find the screw on the lower left and unscrew it. As shown below:

3. Find the location of the drum unit, which is located below the toner cartridge. There is a locking lever on the drum that can be pushed down to unlock the drum cartridge. In this way, the photosensitive drum assembly can be easily pulled out.

4. After removing the old drum unit, use a soft brush or vacuum cleaner to clean the waste toner collection part to ensure that there is no residue.
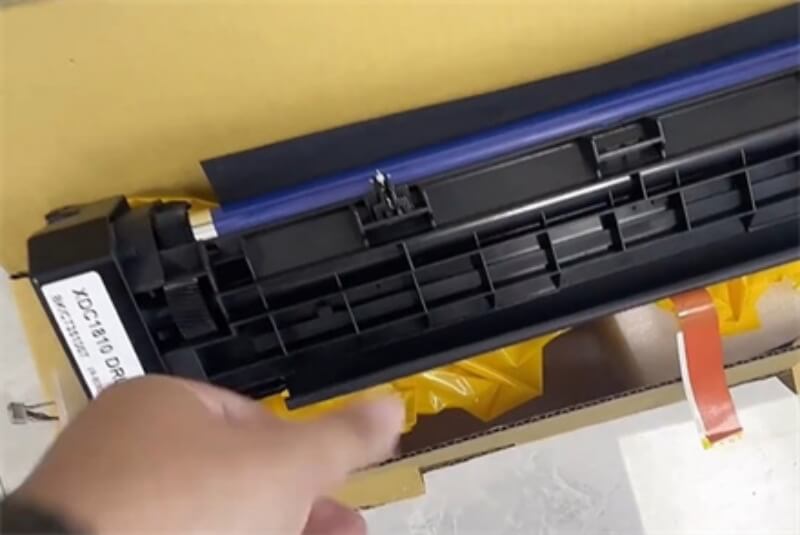
5. Take out the new drum cartridge from the box, tear off the protective film, and prepare for installation.

6. Insert the new drum into the printer and align it with the original position. Note that the drum holder has left and right sides. Make sure the side with the gear fits into the groove before installing it.
Leave A Comment