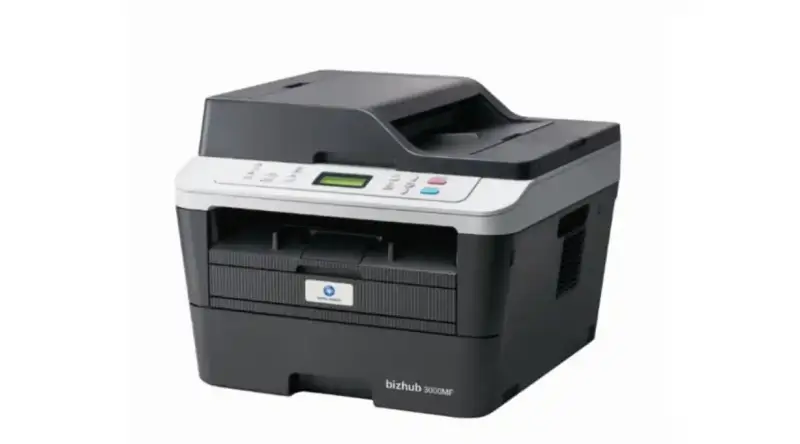
How to reset the Konica Minolta 3000mf toner cartridge after replacing it
Many friends asked that after the Konica Minolta 3000mf toner cartridge was filled with toner, the printer still prompted that there was no toner. At this time, you need to reset the machine’s toner cartridge count. The method of resetting the 3000MF toner cartridge is as follows:
1. Turn on the power switch of the printer to make sure that the printer is ready.
2. Carefully open the front cover of the printer and make sure it is fully open for subsequent operations.
3. On the front panel of the printer, find and press the “OK” button until the “Replace Toner Cartridge” prompt interface appears.
4. After the toner cartridge replacement interface appears, press the “Enable” button, and the display on the panel will begin to display the steps for replacing the toner cartridge.
5. After the “Enable” button is pressed, use your finger to continuously press the “+” button on the printer panel until the number on the printer display shows “11”.
6. At this time, press the “OK” button on the printer panel again, close the front door cover, and the printer can restart printing. The toner is cleared successfully and the front cover is closed.
Note:
During the operation, be careful not to touch any parts inside the printer to avoid damage. In addition, different models of printers may have different operating steps and menu options, so be sure to refer to the instructions in the printer user manual for operation. If you are not sure how to operate, we recommend to contact the printer’s manufacturer or authorized technical support team for more detailed guidance and help.


Leave A Comment