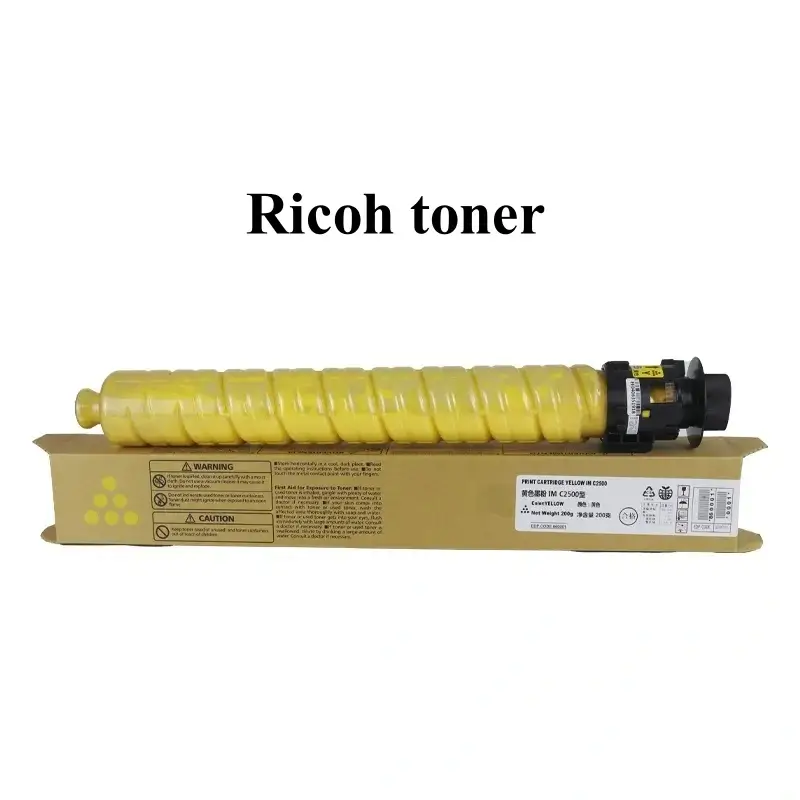
How to fix poor print quality from a Ricoh printer?
Poor print quality from a Ricoh printer is a common problem, often related to consumables, settings, and hardware status. The following troubleshooting steps are categorized by specific symptoms to help you quickly restore printing quality.
Ⅰ. Blurred/faint print (overall clarity is poor)
Possible Causes:
Low toner/ink cartridge level or aging consumables
Improper or contaminated toner cartridge installation
Incorrect print settings (quality, paper type)
Insufficient fuser temperature (laser printers) or clogged printhead (inkjet printers)
Solutions:
1. Check the consumables status
Check the printer screen for “Toner Low”, “Ink Cartridge Empty” or “Toner Life Expired.” Replace consumables promptly with genuine or high quality consumables.
Remove the ink / toner cartridge and inspect the surface for leaking, clumping, or drying (in inkjet printers). Gently wipe the contacts and surface with a soft cloth (for laser printers, avoid touching the OPC drum).
2. Adjust Print Settings
On a PC: Go to “Print Preview – Printer Properties”, set “Print Quality” to “High” or “Best”, and select the appropriate paper type for “Paper Type” (e.g., plain paper, thick paper, photo paper, to avoid the default “Auto”).
On the Printer Control Panel: Go to “Settings – Print Settings” to increase the resolution (300 dpi or higher is recommended, 600 dpi is recommended for text).
3. Cleaning and Maintaining the Hardware
On Laser Printers: Perform “Fuser Cleaning” (Path: Control Panel – Maintenance – Fuser Cleaning) to remove residual toner from the fuser roller.
On Inkjet Printers: Perform “Print Head Cleaning” in the driver’s “Maintenance” (repeate 1-2 times for minor clogs, multiple times for more severe ones). After cleaning, print a test page to verify the results.
Ⅱ. Printing with streaks, spots, or ghosting (localized abnormality)
Possible Causes:
Scratched or contaminated toner cartridge/printer head
Worn or foreign matter on the fuser roller/paper feed roller
Moisture, wrinkled, or poor quality paper
Registration roller misalignment (common cause of ghosting)
Solution:
1. Check consumables and core components
Laser printer: Remove the toner cartridge and inspect the photosensitive drum for scratches, toner clumps, or foreign matter. If damaged, replace the drum cartridge. Clean the developer roller and charging roller with an alcohol pad.
Inkjet printer: Print the “Printer Test Page”, if a color shows broken lines, the printhead may be clogged or damaged. Repeated cleanings may not be effective, you should replace the ink cartridge/printer head.
2. Cleaning the paper feed and fuser assembly
Turn off the power, open the side cover/rear cover of the printer, and inspect the fuser roller and paper feed roller for toner or paper debris. Gently wipe them with a damp, soft cloth (after the laser printer has cooled) to remove any foreign matter.
If the ghost image is fixed (for example, text appears repeatedly), the registration roller may be loose. Contact maintenance personnel to adjust the pressure or replace components.
3. Replace qualified paper
Avoid using damp, wrinkled, thin (≤60g) or thick (>120g) paper. We recommend using Ricoh’s recommended standard printer paper (70-80g). Shake the paper loose before placing it in the paper tray to prevent sticking.
III. Color Abnormalities (Color Cast/Missing/Uneven Shading)
Possible Causes:
Insufficient or incorrectly installed color supplies (ink / toner cartridge).
Color calibration failure or incorrect print settings.
Deterioration of the photosensitive drum/printer head (common with color printers).
Solutions:
1. Check the status of the color supplies
Confirm that the color ink/toner cartridge is sufficiently full. Ensure the latches are securely fastened when installing (some models require removing the protective seal).
If a color is completely missing, check whether the supplies are installed upside down or the chip is contaminated. Clean the chip with an eraser and reinstall.
2. Perform color calibration and adjust settings
Go to “Settings” – “Maintenance” – “Color Calibration” on your printer and follow the prompts to complete the calibration (some models require printing and scanning a calibration page for confirmation).
When printing from a computer, select the correct color profile (such as “Ricoh Default Color”) in “Color Management” to avoid excessive manual adjustments to “Brightness/Contrast” that may cause color casts.
3. Troubleshooting Hardware Aging Issues
If color casts persist after calibration, it may be due to aging of the photoconductor drum (laser printer) or printhead (inkjet printer). You need to replace these components. Inkjet printers that have not been used for a long time should be powered on and printed regularly to prevent the print-head from drying out.
IV. Daily Prevention and Maintenance Recommendations
Regular Cleaning: Clean dust inside the printer monthly with a compressed air canister. Wipe the scanning platform glass, paper feed rollers, and consumables contacts quarterly to prevent contamination that may affect print quality.
Use consumables properly: Prefer genuine Ricoh or high quality compatible consumables and avoid inferior paper and consumables (which can cause clogging and toner leakage).
Recording and Testing: After each consumable replacement or repair, print a test page for archiving. This allows you to compare the results before and after the problem and quickly identify the issue.
Summary:
If the problem persists after completing the above steps (e.g., severe hardware wear or a motherboard failure), we recommend contacting Ricoh after-sales service or an authorized repair center to have professional technicians inspect core components (such as the fuser, laser, and motherboard) to avoid secondary damage caused by self-disassembly.


Leave A Comment