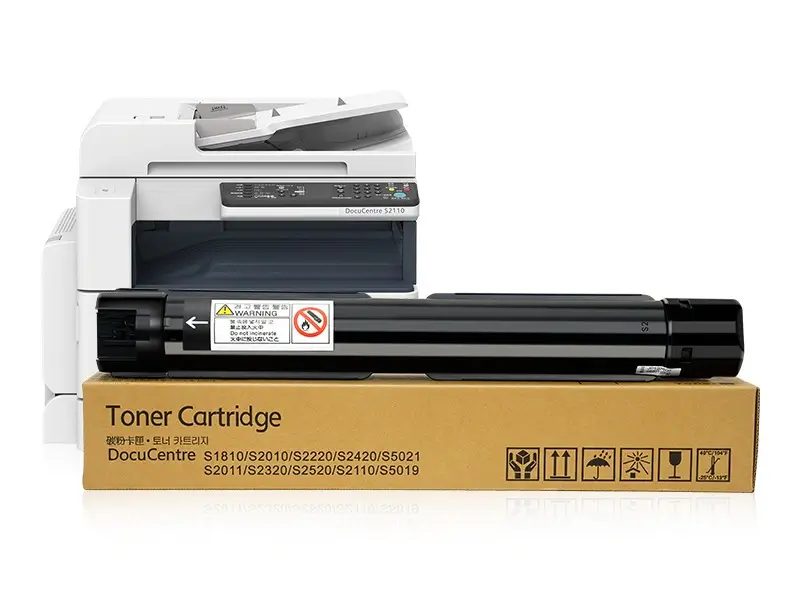
Xerox S1810 Toner Cartridge
How to adjust the toner density on Xerox S1810?
Adjust toner density, printing depth, and background gray. Applicable models: Xerox S1810 / 2220 / 2010 / 2420 / 2011 / 2320 / 2520 / 2110 / Fuji film 2150 / 2350.
How to adjust the toner density gray or reduce the printing bottom?:
Method one:
1. Enter maintenance mode: The passwords for entering maintenance mode of Xerox and Fuji film are inconsistent.
Xerox models: Press and hold the “0” key (for more than 6 seconds) without letting go, then press the green “Start key” to appear —– prompt, enter 6789, press the Start key.
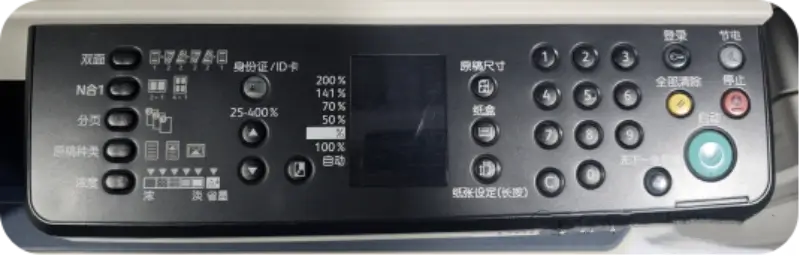
Fuji film models: Press and hold the “0” button (for more than 6 seconds) without letting go, then press the green “start button” —– prompt, enter 1739, press the start button.
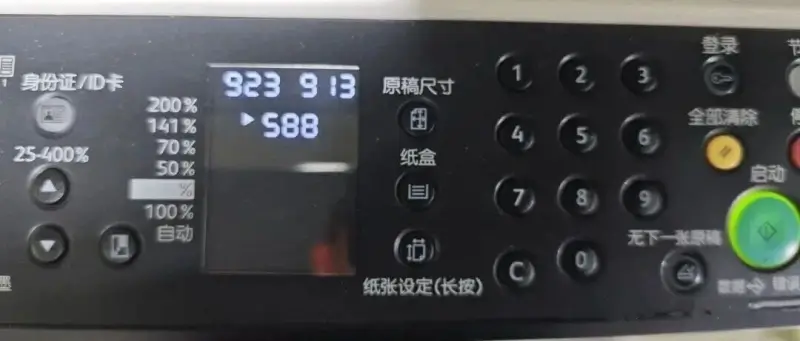
2. After entering maintenance mode, enter 923-914 (reduce toner density).
3. Press the Start button and it will display “Executing” for a while and then display the ATC correction target value.
Note: Pressing the [Original Size] button will alternately display the ATC average value and ATC correction target value. The difference between [ATC correction target value] and [ATC average value] is 60, which is equivalent to 2% of the toner density.
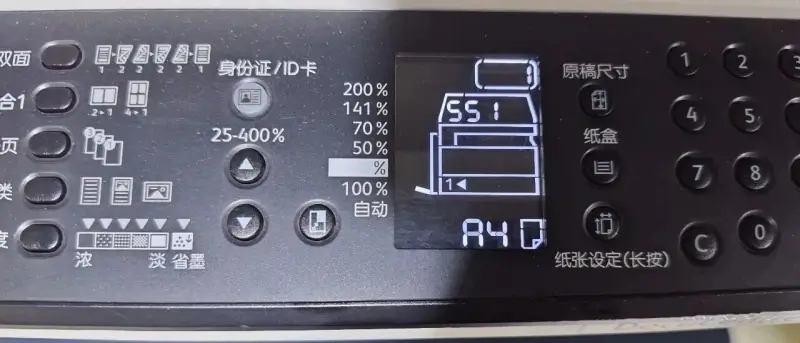
4. Press the Start button and use the [Magnification Selection] button (up arrow, down arrow) to set the number of all-black copies to be output (1 to 20); enter the number according to the actual situation.
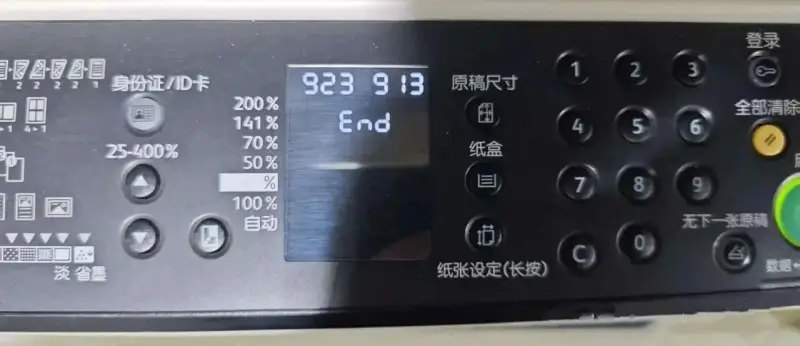
5. [End] is displayed after the last paper is output or when the [Stop] button is pressed.
6. Press the <Clear All> key to return to the maintenance mode interface, press 0 and the start key to restart the machine.
7. If there is gray background or dark printing, continue the operation.
Method two:
1. Take out the toner cartridge and close the front cover.
2. Copy and expose or print a certain number of black plates (10-20 pages) until the machine prompts to replace the toner cartridge.
3. Initialize the maintenance mode developer.
Enter the maintenance mode: long press the “0” key (more than 6 seconds) without letting go, and then press the green “start key” to appear —– prompt, input 6789 for Xerox machine, input 1739 for Fuji film, press the Start button; enter “950”, press the Start button, enter “807”, press the Start button; prompt “Clr” flashes, press the Start button, prompt “end” flashes, wait until it stops flashing.
4. Exit the maintenance mode and restart the machine: Press and hold the No. 0 button for 6 seconds without letting go. Without letting go, press the Start button at the same time, and the machine will start to restart. The machine starts to idle, continue to wait, wait for the machine to stop making any movements, load the toner cartridge, and the machine resets successfully.
5. Load the toner cartridge and print to see the effect.
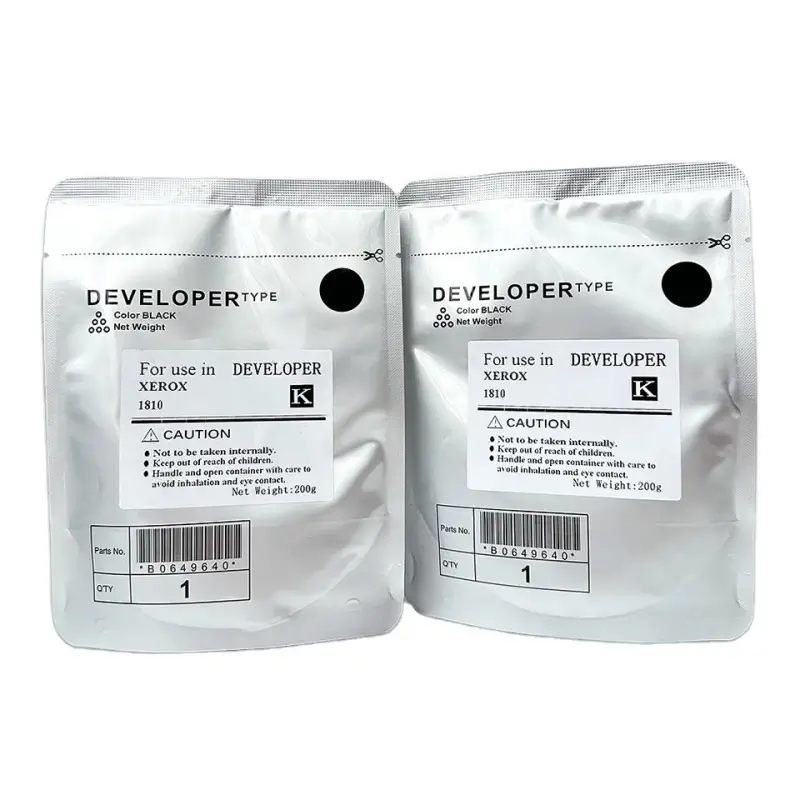
Xerox S1810 Developer
How to adjust the toner density for printing to a darker setting?
The steps to adjust the deep blackness or increase the toner concentration are as follows:
1. Enter maintenance mode: refer to the above operation method.
2. After entering the maintenance mode, enter 923-913 (increase the toner concentration).
3. Press the Start button and it will display “Executing” for a while and then display the ATC correction target value.
4. Press the Start button and use the [Magnification Selection] button (up arrow, down arrow) to set the number of all-white sheets to be output (1 to 20); enter the number of sheets according to the actual situation.
5. [End] is displayed after the last paper is output or when the [Stop] button is pressed.
6. Press the <Clear All> key to return to the maintenance mode interface, press 0 and the start key to restart the machine.
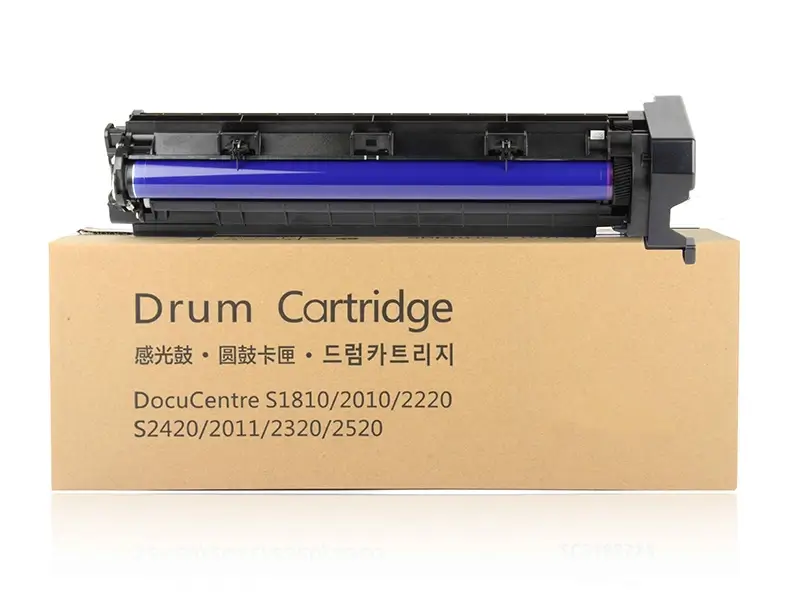
Xerox S1810 Drum Unit
Leave A Comment