
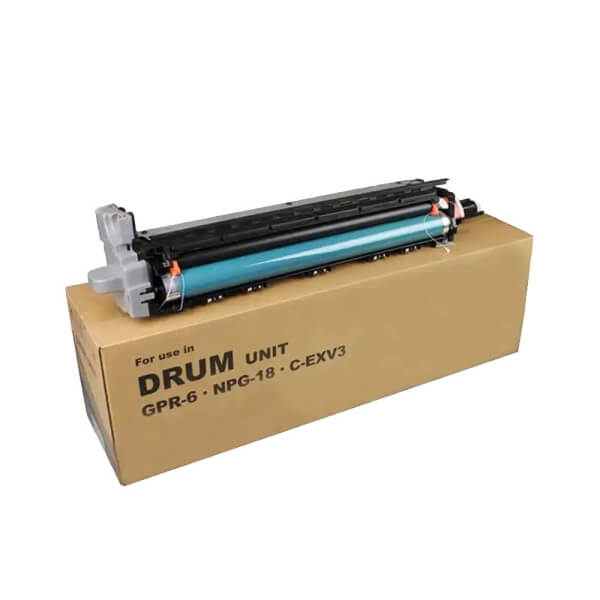
🛠️ Laser Printer OPC Drum: Ultimate Maintenance & Repair Guide
Executive Summary: The Organic Photo-Conductor (OPC) drum is the heart of laser printing quality. With a rated lifespan of 6,000 to 10,000 pages, proper maintenance of the drum and waste toner system can extend component life by up to 30%, preventing common issues like vertical streaks and background graying.
🔍 Part 1: Proactive Maintenance & Cleaning (SOP)
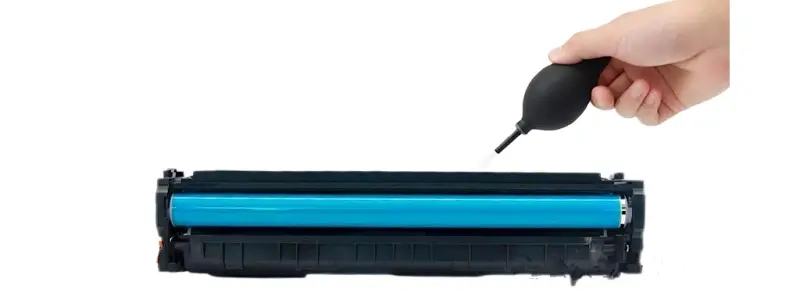
To maintain high-resolution output, the OPC drum requires periodic cleaning. Caution: The drum surface is extremely sensitive to light and physical contact.
How to Clean an OPC Drum Safely:
- Preparation: Use only medical-grade degreased cotton or high-quality photographic lens paper.
- Chemical Cleaning: Apply a specialized OPC drum cleaner. Wipe in a gentle, spiral motion in one direction only. Immediately dry with a clean cotton ball.
- Surface Protection: Lightly pat a thin layer of talcum powder using a gauze pad before reinstallation to reduce initial friction.
The “Waste Toner” Critical Warning:
- The Risk: An overfilled waste toner box causes “squeezing,” leading to toner leakage.
- The Damage: Waste toner contains paper dust and abrasive fibers. If not emptied, these particles act like sandpaper, permanently scratching the drum coating and causing irreversible longitudinal gray streaks.
⚡ Part 2: Advanced Repair Techniques for Aged Drums
When prints become blurry or text appears elongated due to “surface fatigue” (potential drop), use these professional recovery methods:
- Chemical Resurfacing: Use a small amount of Chromium Trioxide on a cotton ball. Wipe evenly along the drum axis. This removes the “fatigued” top layer to expose fresh, sensitive material. Note: This typically extends life by 1,000–2,000 pages.
- The Rotation Strategy: To prevent “Photoconductor Fatigue,” maintain two toner cartridges and swap them weekly.
- Recovery Storage: Store a fatigued drum in a cool, dark place wrapped in black anti-static paper for 7+ days to allow the surface potential to reset.
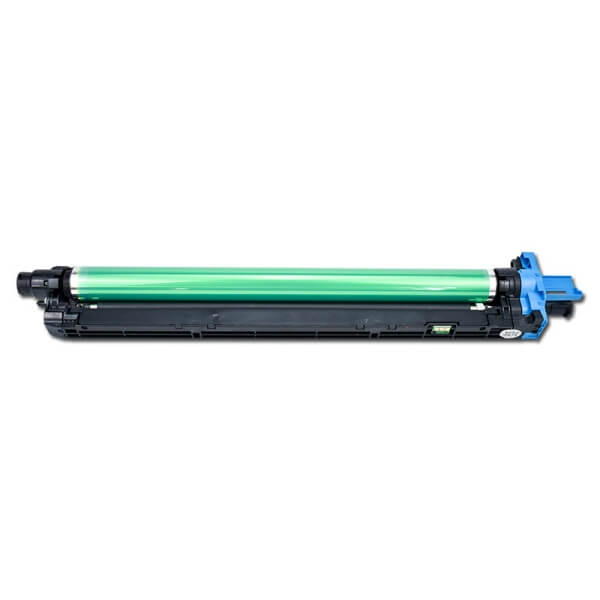
🔄 Part 3: Step-by-Step OPC Drum Replacement (HP 6L Case Study)
When colors appear pale and cleaning fails, replacement is necessary. Follow this technical workflow:
| Step | Action | Critical Technical Note |
| 1. Disassembly | Remove metal pins with diagonal pliers | Split the unit into Waste Toner and Toner Supply sections. |
| 2. Cleaning | Vacuum the toner compartment | Must remove all residual toner to prevent “ghosting” with new powder. |
| 3. Refilling | Pour toner into the supply section | Ensure the magnetic roller’s semi-circular shaft aligns with the shell hole. |
| 4. OPC Install | Swap the old drum for the new OPC | Do not remove the black anti-exposure seal until the drum is fully seated. |
| 5. Testing | Manual Gear Rotation | Rotate the magnetic roller gear by hand to ensure even toner distribution. |
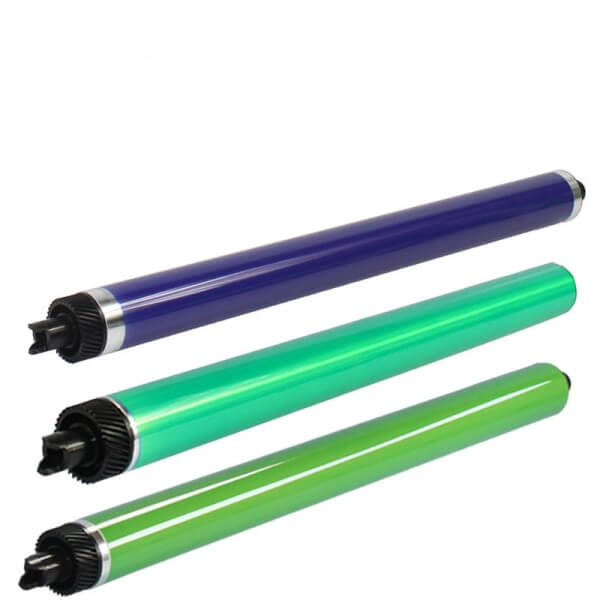
⚠️ Essential Safety & Storage Standards
- Light Sensitivity: Never expose the drum to direct sunlight. Open the protective wrap only seconds before installation.
- No-Touch Rule: Human skin oils damage the photoconductive coating. If dust appears, use a soft brush or dry toner only—never use household detergents.
- Shelf Life:
Sealed: 2.5 years.
Unsealed/Installed: 6 months. - Vacuum Safety: Use a vacuum specifically rated for toner (HEPA) to prevent fine particles from exhausting back into the air.
🚀 Technical Meta Tags
- Primary Category: Laser Printer Maintenance / Imaging Components
- Fault Codes & Symptoms: Background Graying, Vertical Scratches, Ghosting, Faint Print Repair.
- Key Components: OPC Drum (Organic Photo-Conductor), Waste Toner Box, Magnetic Roller, Chromium Trioxide Repair.
- Target Brands: HP LaserJet (6L/Universal), Canon, Brother Drum Replacement.
- Optimization Keywords: How to clean OPC drum, Laser printer drum repair, extend toner cartridge life.

Leave A Comment