
Introduction
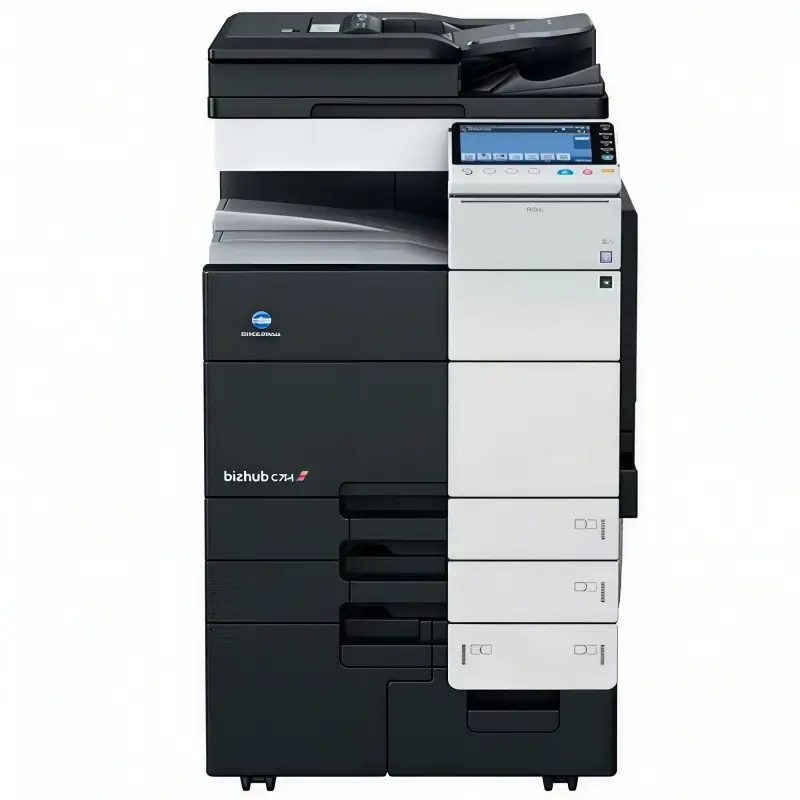
Does your Konica Minolta bizhub 368 or 368e produce a faded area on the right side of the first printed or copied page after the machine has been idle for several hours?
A common symptom is that approximately one-third of the right side of the first page appears lighter than normal. After printing or copying several additional pages, the image density gradually returns to normal.
This type of problem may be related to delayed operation of the black developer drive mechanism, including the K developer drive solenoid, mechanical transmission components, or associated electrical contacts.
This guide explains the possible causes, inspection procedures, and practical troubleshooting steps for technicians working on Konica Minolta monochrome multifunction printers.
Key Takeaways
- The problem typically appears on the first page after a cold start or extended idle period.
- Subsequent pages may return to normal image density.
- A delayed or incomplete black developer drive operation is one possible cause.
- Inspect the K developer drive solenoid, armature, transmission mechanism, and related contacts.
- Confirm the actual cause through cold-start testing and mechanical inspection before replacing parts.
1. Understanding the First-Page Fading Problem
1.1 Typical Symptoms
The reported symptoms include:
- The machine has been idle overnight or for an extended period.
- The first printed or copied page has a faded area on the right side.
- The affected area covers approximately one-third of the page width.
- The image density improves on the second page or subsequent pages.
- Normal printing may continue after the initial abnormal page.
This pattern suggests that the problem may be related to a component that does not operate consistently during the initial printing cycle.
1.2 Why Does the Problem Disappear on Subsequent Pages?
Some mechanical or electrical components may behave differently after a long idle period compared with continuous operation.
If the developer drive mechanism does not engage correctly at the beginning of the first print cycle, developer supply or image development may be temporarily affected.
Once the mechanism starts operating normally, subsequent pages may show improved density.
However, first-page fading can also result from other causes, including developer condition, toner supply, charging, high-voltage contacts, or other image formation components. The actual cause should be confirmed through testing.
2. Possible Causes of First-Page Fading
2.1 Delayed Operation of the K Developer Drive Solenoid
One important inspection point is the black developer drive solenoid.
The solenoid controls a mechanical engagement mechanism associated with the black developer drive.
Potential problems include:
- Solenoid aging or reduced operating performance
- Toner dust or contamination around the armature
- Rust or contamination on the contact surfaces
- Armature movement resistance
- Inconsistent solenoid engagement
If the mechanism does not engage correctly during the initial printing cycle, developer drive operation may be affected.
2.2 Mechanical Resistance in the Transmission System
Even when the solenoid operates, the connected mechanical components may not move smoothly.
Inspect the relevant:
- Drive shaft
- One-way clutch or bearing, where fitted
- Gears
- Springs
- Mechanical engagement components
Excessive resistance, wear, or slipping may prevent the developer drive from operating consistently.
2.3 High-Voltage Contact Problems
The developer system relies on the appropriate electrical conditions for image development.
If a related high-voltage contact is loose, contaminated, or intermittently connected, image density may be affected.
Inspect the relevant contacts and connections according to the machine’s service documentation.
Do not assume that a solenoid problem automatically means the developer bias voltage is abnormal. Electrical measurements and model-specific diagnosis are needed to confirm this.
2.4 Other Image Formation Components
If the developer drive mechanism is operating normally, continue checking other possible causes:
- Developer condition and distribution
- Toner supply and replenishment
- Drum and charging system
- High-voltage power supply and contacts
- Other components involved in image formation
3. Step-by-Step Troubleshooting Procedure
The recommended inspection sequence is:
Cold-start reproduction → Solenoid inspection → Mechanical transmission inspection → Electrical contact inspection → Component replacement if confirmed
Step 1: Reproduce the Fault Under Cold-Start Conditions
Allow the machine to remain idle for a sufficient period to reproduce the reported condition.
Print or copy several test pages and record:
- Whether the first page is faded
- Which area of the page is affected
- Whether the second page improves
- Whether the problem occurs in both printing and copying
- Whether the problem returns after another extended idle period
Keep the paper, image coverage, and test conditions consistent when comparing results.
Step 2: Inspect the Black Developer Drive Solenoid
With the machine powered off and disconnected from the power supply, inspect the K developer drive solenoid according to the service procedure.
Check for:
- Toner contamination
- Dust or debris
- Rust or corrosion
- Restricted armature movement
- Loose mounting or abnormal positioning
- Damaged wiring or connectors
If the service manual provides an actuator or output test, use the specified procedure to check solenoid operation.
Listen for abnormal engagement sounds, but do not rely on sound alone to determine whether the solenoid is defective.
Step 3: Clean and Check the Solenoid Mechanism
If contamination is found, clean the relevant parts using a method approved for the component and machine.
Check that the armature moves freely and that the contact surfaces are not damaged.
Do not apply oil or grease to the solenoid contact surfaces unless specifically instructed by the manufacturer.
Do not adjust the armature gap or add shims based on a general measurement. The correct clearance and adjustment method must be confirmed using the service documentation for the exact model.
Step 4: Inspect the Related Mechanical Drive Components
Check the transmission mechanism connected to the solenoid.
Inspect:
- Drive shaft movement
- Gear engagement
- One-way clutch or bearing condition, where applicable
- Spring condition
- Mechanical resistance and signs of wear
If the mechanism is stuck, slipping, or excessively resistant, identify and correct the mechanical cause before replacing the solenoid.
Step 5: Check Related Electrical Contacts
Inspect the relevant high-voltage contacts, connectors, and wiring.
Look for:
- Toner contamination
- Oxidation
- Loose connections
- Damaged contact points
- Intermittent electrical connection
Follow the machine’s service manual for electrical testing and safety procedures.
Step 6: Replace Defective Components if Necessary
If the solenoid fails the specified operational test or the mechanical drive component is confirmed defective, replace the relevant part.
Depending on the inspection results, the possible replacement items may include:
- K developer drive solenoid
- Related one-way clutch or bearing, if fitted and defective
- Damaged gears or transmission components
- Defective electrical contacts or connectors
Avoid replacing multiple components at the same time without confirming their condition. This makes it easier to identify the actual root cause.
4. Practical Verification After Repair
After cleaning, adjustment according to the service manual, or component replacement, verify the repair under conditions similar to those that originally produced the fault.
Recommended checks:
- Allow the machine to return to a cold or idle condition.
- Print or copy a consistent test page.
- Inspect the right side of the first page for uneven density.
- Print additional pages and compare image density.
- Repeat the test after another idle period if necessary.
A repair should be considered successful only when the original symptom can no longer be reproduced under comparable test conditions.
A few blank-page feed cycles may be useful as a comparative test in some diagnostic situations, but improvement after this test alone does not prove that the solenoid is defective. It should be treated as a diagnostic clue rather than a definitive confirmation.
5. Important Maintenance Notes
Do Not Adjust the Solenoid Gap Without Specifications
Solenoid armature clearance can affect engagement performance.
Use the correct model-specific service information rather than applying a universal clearance value.
Do Not Lubricate Solenoid Contact Surfaces Arbitrarily
Oil or grease on the wrong surfaces may attract toner and dust or interfere with the solenoid’s operation.
Use only manufacturer-approved cleaning and lubrication methods.
Check the Complete Drive Mechanism
A solenoid may operate correctly while a connected gear, shaft, spring, or clutch is causing the actual problem.
Inspect the complete mechanical drive path before replacing the solenoid.
Compare First-Page and Continuous-Printing Results
The difference between the first page after an idle period and subsequent pages is an important diagnostic clue.
Record the test conditions and print samples to help identify intermittent problems.
6. Conclusion
When a Konica Minolta bizhub 368 or 368e produces a faded area on the right side of the first page after an extended idle period, the black developer drive mechanism is one of the important areas to inspect.
A delayed or incomplete K developer drive solenoid operation may affect the initial development process. Mechanical resistance, transmission wear, and electrical contact problems should also be considered.
The recommended troubleshooting approach is:
- Reproduce the problem after an extended idle period.
- Inspect the K developer drive solenoid.
- Check the connected mechanical transmission system.
- Inspect relevant electrical and high-voltage contacts.
- Replace only components confirmed to be defective.
- Repeat cold-start testing to verify the repair.
The exact component arrangement and adjustment specifications may vary by machine model. Always refer to the applicable Konica Minolta service manual before performing repairs.
Frequently Asked Questions
Q1: Why is the first copy faded on a Konica Minolta bizhub 368?
If the first copy is faded after the machine has been idle, but subsequent copies return to normal, a delayed developer drive operation is one possible cause. Inspect the K developer drive solenoid and its connected mechanical components.
Q2: Why does the print density return to normal after the first page?
The problem may involve a component that does not operate consistently during the initial print cycle. Once the developer drive or another affected mechanism operates normally, subsequent pages may have more consistent density.
Q3: Can a defective K developer drive solenoid cause uneven print density?
A solenoid that fails to engage the related drive mechanism correctly may affect developer operation. However, other mechanical, electrical, and image formation problems can produce similar symptoms.
Q4: Should I replace the solenoid immediately?
Not necessarily. First inspect the solenoid, armature movement, mechanical transmission, and electrical connections. Replace the component only after confirming that it is defective.
Q5: How can I verify that the repair is successful?
Reproduce the original conditions by allowing the machine to remain idle, then print or copy a test page. Compare the first page with subsequent pages and confirm that the right-side fading does not return.
About KB Toner
KB Toner provides compatible toner cartridges, drum units, and technical information for printer dealers, distributors, and service companies.
Visit KB Toner to explore our printer and copier consumables.

Leave A Comment